Join the light side and never come back.
Today I want to showcase an easy upgrade applicable to most embedded devices that greatly increases the quality of your RGB(W) LEDs color output.
PWM - The basics
When first learning about controlling LEDs via, for example, Arduino, you will be introduced to PWM, Pulse Width Modulation, a technique to get the effect of dimming without actually changing the resistance in the circuit to get a specific voltage.
It tricks our eyes into thinking the light is at a specific brightness by turning it on and off very quickly(Pulse) within a time-frame where the Width of the changing signal(Modulation) is proportional to the amount of brightness wanted.
This also circumvents the problem of the differences in emission between LEDs(even if they are of the same color/type) which are especially large in the low-power range.[2] But as that is out of the scope of this article, check out the corresponding source for more information on that.
Take a look at the following two graphs showcasing two different duty cycles, one at 50% and one at 75%. The duty cycle of a PWM signal describes the amount of time it is turned on within a specific time-frame and is therefore roughly equivalent to the brightness of a connected LED.
This time-frame is described by the frequency of the PWM signal, as the time it takes for the signal to turn on, off, and on again. Most of the time you will find this represented in the number of repetitions within a second, otherwise known as Hertz.
The size of the frequency has some influence on the artifacts you might encounter. But more on that later.
Within a time-frame, you could theoretically have an infinite amount of different duty cycles. But that is not the case.
We are sadly limited by physics, the devices we use, and our configuration.
And we are here for the last one of those.
The amount of Granularity that can be archived with the duty cycle in a given PWM System is controlled by its resolution. Which is either represented with its size in bits or the number of steps possible.
When working with PWM to control light you most certainly worked with 8 bits in form of a value between 0 and 255. This is the default for most systems and tutorials.
Yet most of those systems support even higher bit-rates with almost no drawbacks. In this case, I have chosen 16 bits for its high support, only minimal drawbacks, and because it is right at the edge where the increase of benefits becomes less noticeable with each increase in resolution.
Massive increase in steps
An increase in resolution allows us to have a lot finer dimming control of the different LEDs, as we have now about 65280 more steps of resolution(an increase of 256%).
Which is where the fun begins.
When it comes to mixing colors you get a massive increase in color fidelity, for RGB from 16 Million(2563) to 281 Trillion(655363) and for RGBW from 4 Billion(2564) to 18 Quintillion(655364).
Just don't try to imagine that, it's a lost cause.
With this high amount of granularity dimming without any visible jumps becomes possible, which is especially important in the low-power range as our eyes are more sensitive there.
Gamma correction is now also way easier, which is making the dimming more natural to the eye.[1]
For gamma correction to work we are in essence mapping a quadratic function - as that is how our eyes(approximately) perceive changes in brightness - to our available granularity. And that is with 65536 steps just way easier(read: results in smaller errors) than mapping it to 256 steps.
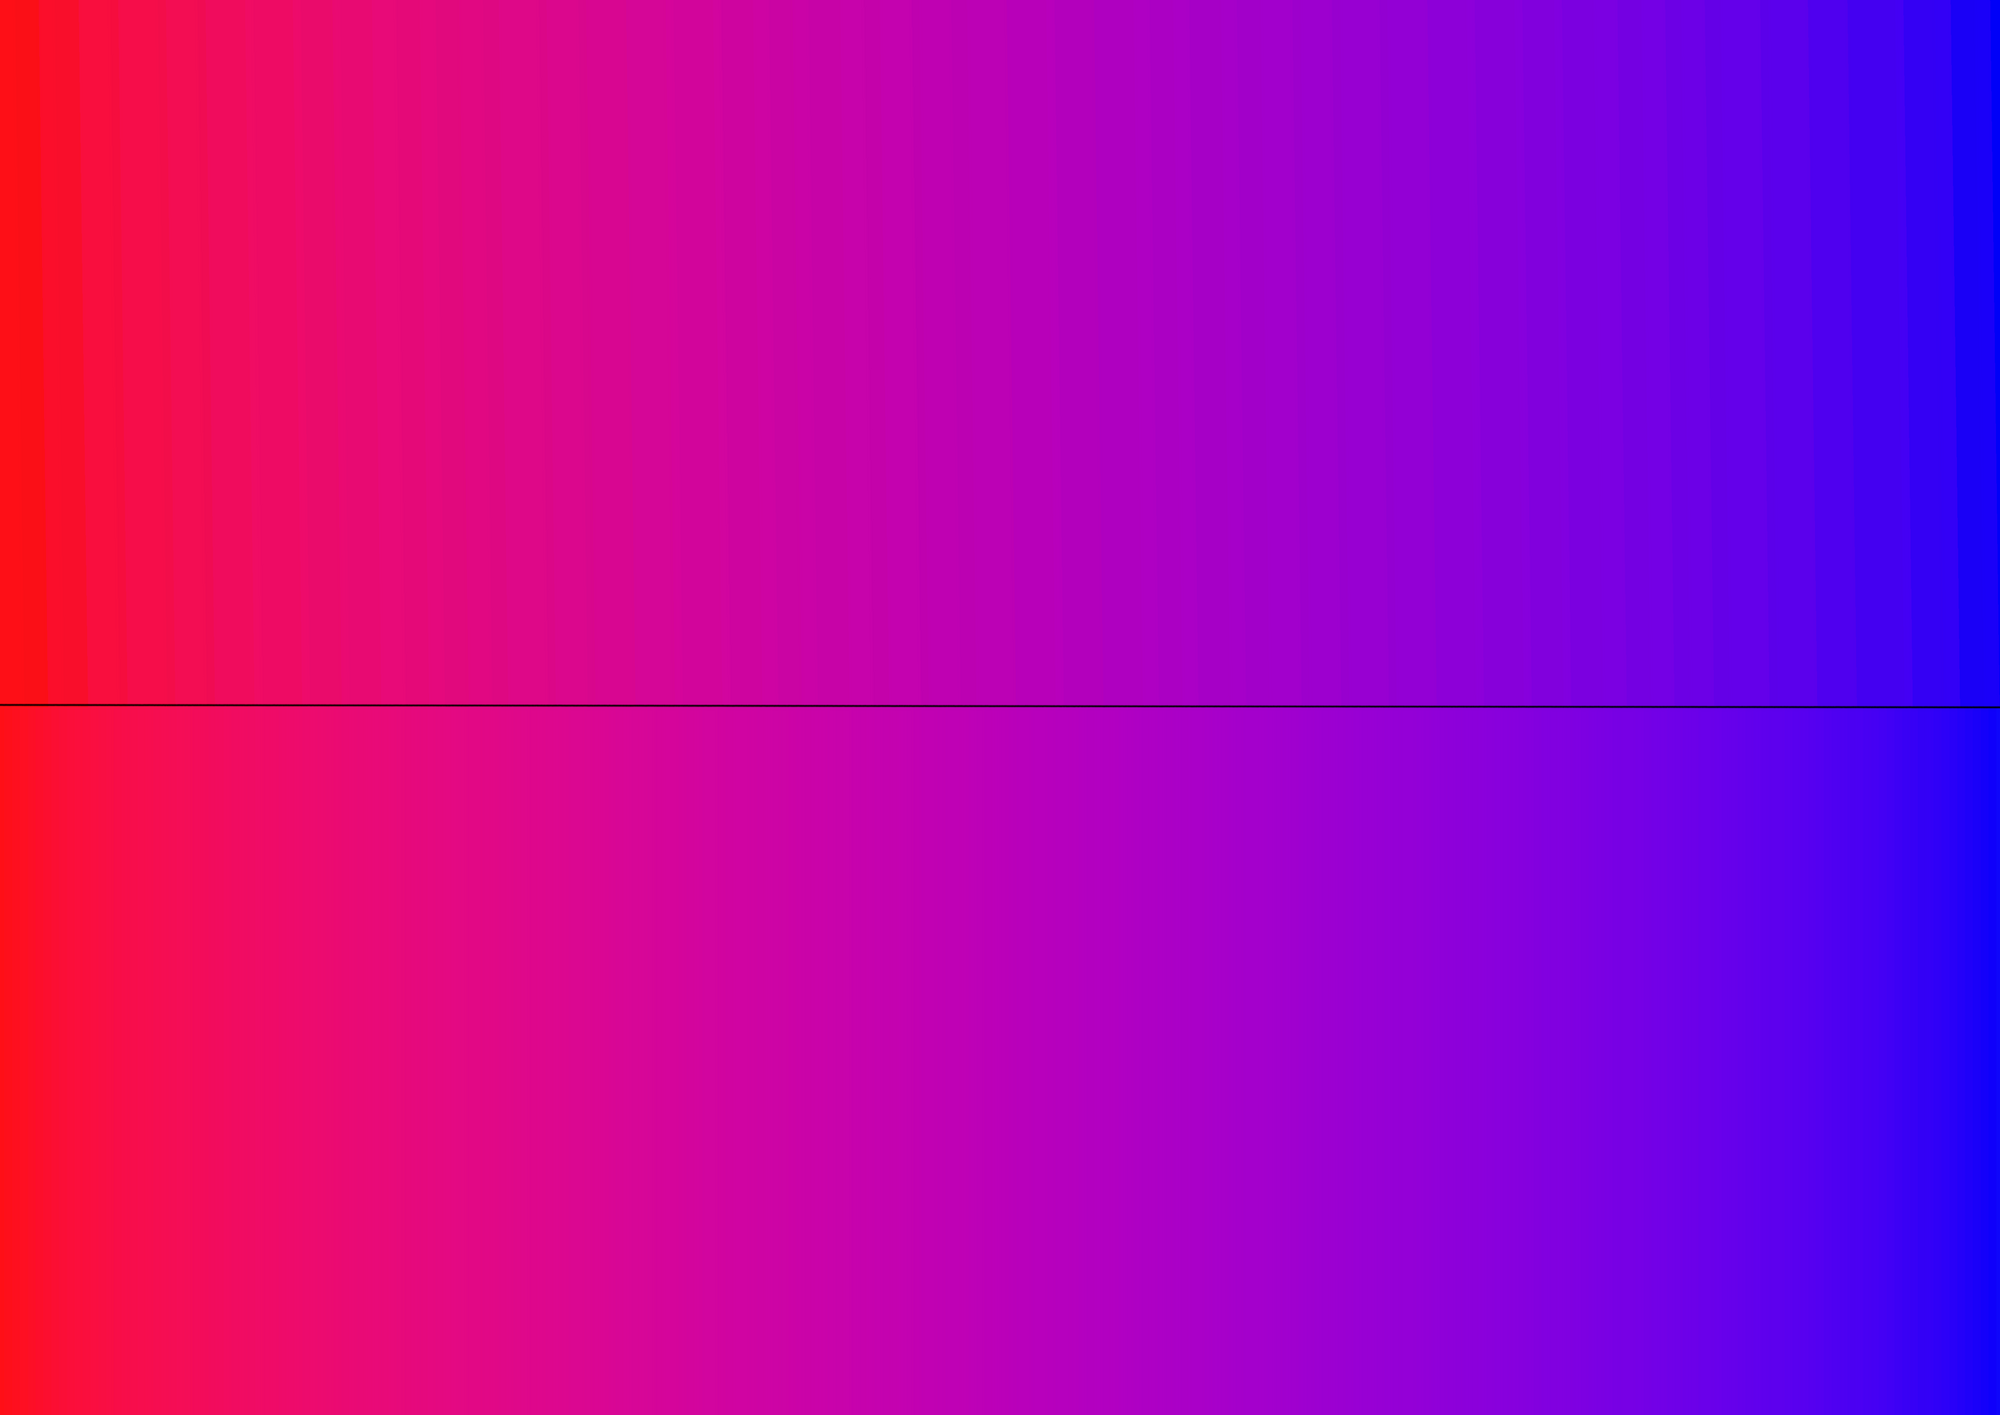
The following two graphs show just that:
Feel free to zoom in
16 bit version is down-sampled to not overwhelm your browser
To toggle, press the above button and zoom again
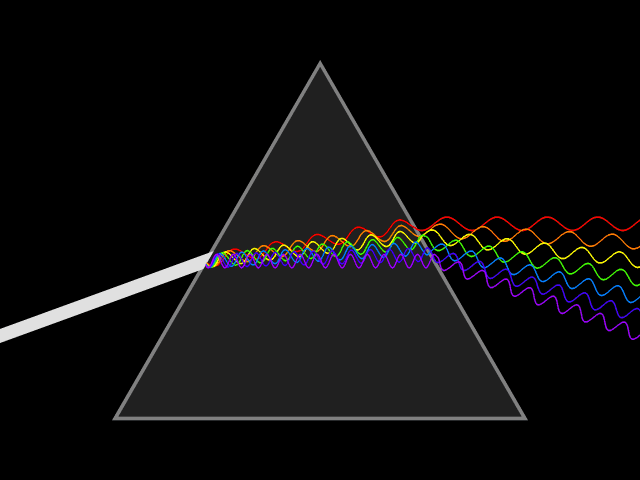
And last but not least, we can now more precisely convert to other color formats without having huge jumps in the output color and brightness. I find the Hue-Saturation-*(HS*) family of formats to be a particularly good starting point.
You might know, that when you mix RGB(and W) colors you traverse the area of a cube along the axis R, G and B. From a technical standpoint, this is the optimal way to control an RGB(W) system, but when it comes to humans most of us do not have internalized color mixing in this way.
For us, a color wheel is a much better option, in combination with a way to control the amount of brightness and color(otherwise known as saturation).
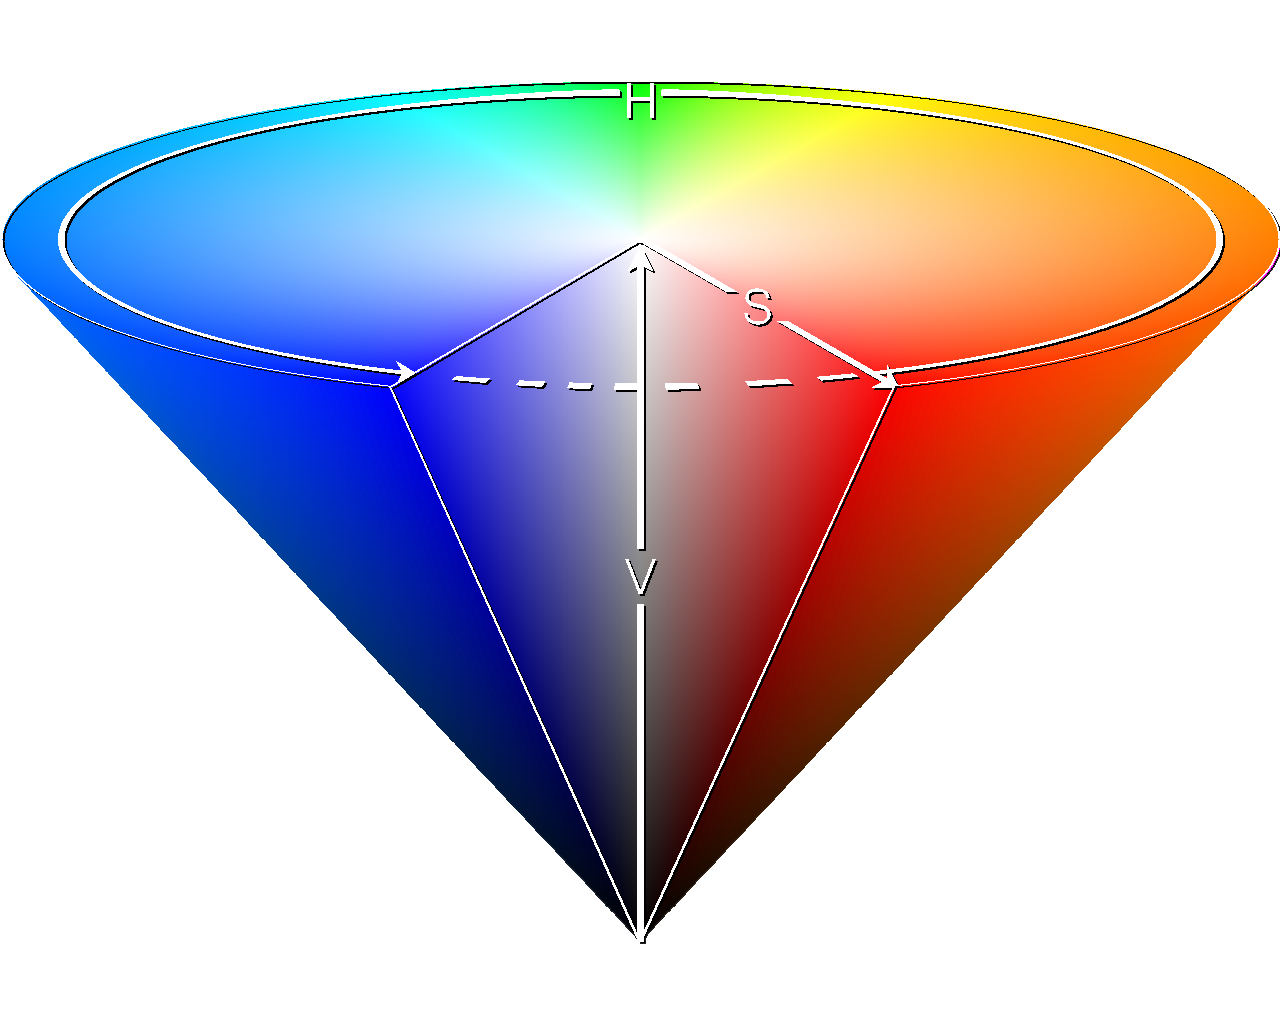
In the case of the HS* family, we traverse either a cylinder, cone or bicone, where the rotation around the surface changes the Hue, traversing inwards changes the saturation and moving up/down changes the brightness.
The star in the name depends on the method chosen to calculate the brightness. And there are a lot of different methods, just find one that suits your needs. For more information about that you might wanna check out my stuff here as well as the awesome material at SaikoLED, which is where I get a lot of my references from.
The thing about the frequency
While there are some small obvious drawbacks like more use of CPU time and the need for bigger data types there is also one that I hinted at with the frequency.
As our device needs more time for higher resolutions to calculate and transmit them, this, in turn, decreases the maximum frequency that can be reached the higher in resolution we go.
That means with a frequency low enough you will be able to see the light flickering. But even before we reach that point this effect will show up on cameras as either flickering or visible color bands as the light is changing.
And not only cameras are able to notice this rapid flickering. Because even though we may not be able to consciously register it, it still affects us by inducing eye strain at lower frequencies.[4]
And while I was not able to find a specific frequency for which this is true, the article in the footnote claims that anything above 400Hz should be fine. Which shouldn't be a problem with most devices. In case of the ESP32 you can calculate the maximum frequency of a given resolution like this:
$$\frac{timer\_clock}{2^{resolution}} \Rightarrow \frac{80\verb|MHz|}{2^{16}} \approx 1220\verb|Hz|$$
And last but not least, to fix the flickering issue with cameras you can simply adjust your shutter speed to be a multiple of the frequency of your LEDs.
All in all, I find the upgrade to 16 bits to be a seamless one, with a great increase in color fidelity and dimming resolution that leads to easier to control colors and the ability to correct for the human vision. And the drawbacks are for most use-cases, to put it frankly, non-existent.
Summary
Thank you for reading! If you liked this article please feel free to take a look around, like and comment and maybe even share it.
Benefits
- Smoother gradients
- Finer color control especially in the low-level range
- - > As our eyes are quite sensitive there and jumps are quite noticeable
- Better color correction -> quadratic mapping
- Allows HS* color formats to work more effectively
- Easy upgrade already supported by most devices
Costs
- General overhead
- the decrease in frequency that comes with an increase in resolution might cause visual artifacts as well as eye strain if the frequency is too low
Sources:
1. https://blog.saikoled.com/post/45630908157/implementing-arbitrary-color-correction-with-the
2. https://www.instyleled.co.uk/8bit-vs-16bit-led-control/
3. https://www.mothergrid.de/fachwissen/dimming-led-lights-basics-and-difficulties/
4.https://www.led-professional.com/resources-1/articles/flicker-beyond-perception-limits-a-summary-of-lesser-known-research-results